How to Design Borders and Corners for a Custom Silk Scarf
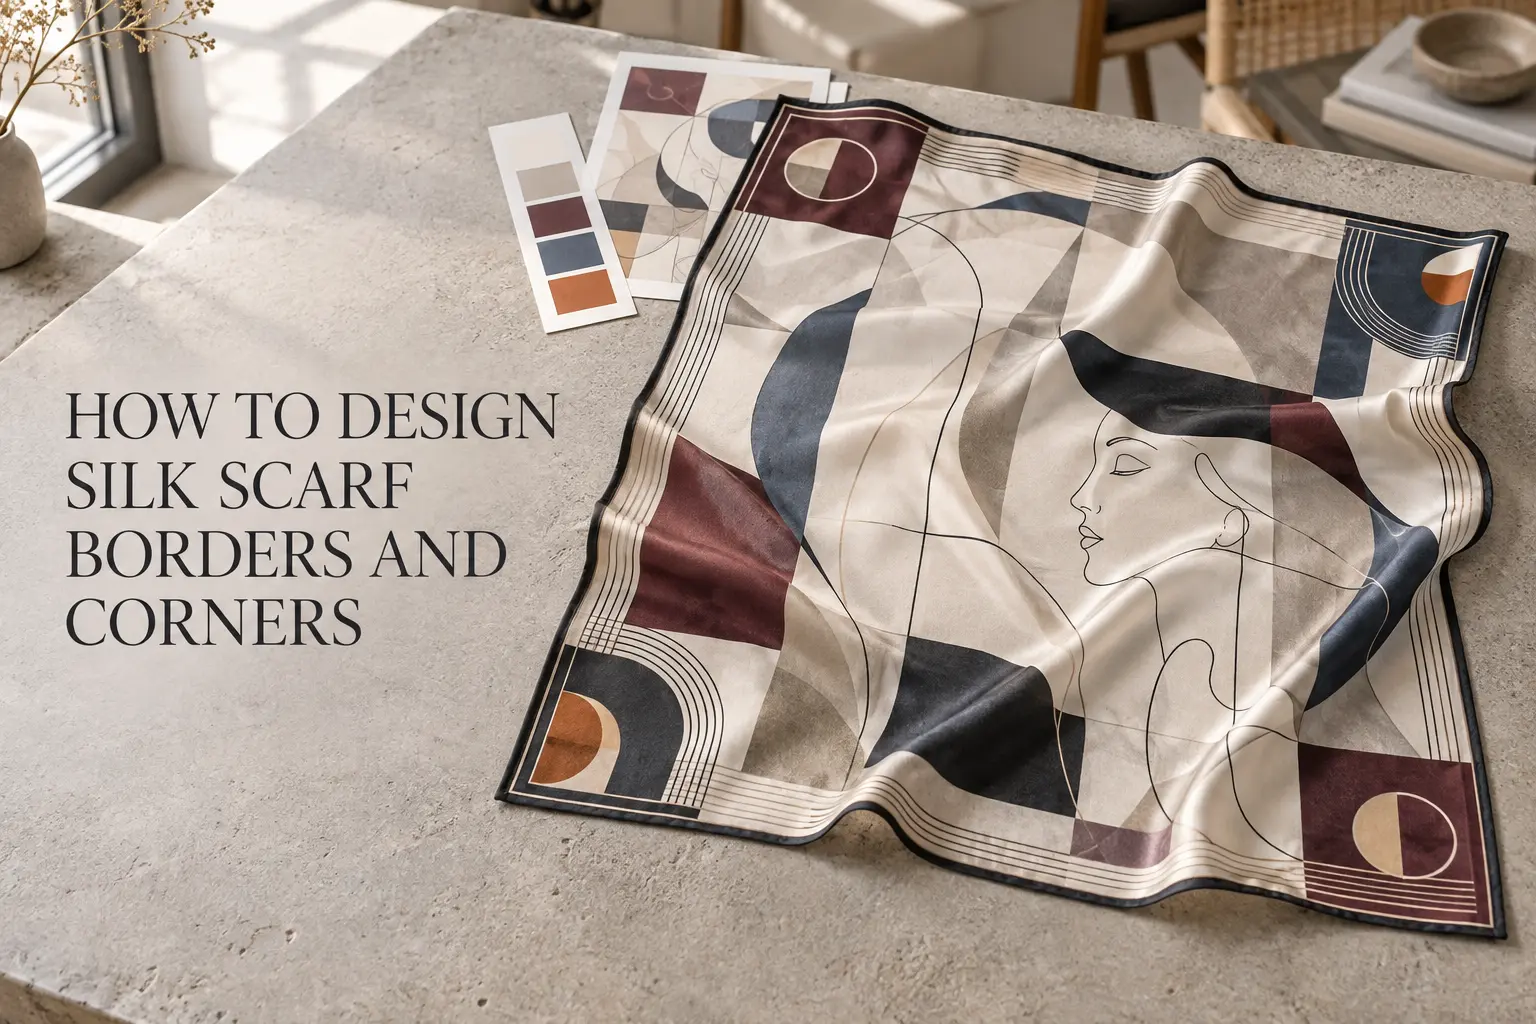
When creating artwork for a custom silk scarf, designers often concentrate on the central illustration first. However, once the scarf is folded or tied, the centre may be almost completely hidden. The border and corners frequently become the most visible parts of the finished product. A successful design should therefore look balanced both when laid open and when worn.
Why Borders Matter When a Scarf Is Worn
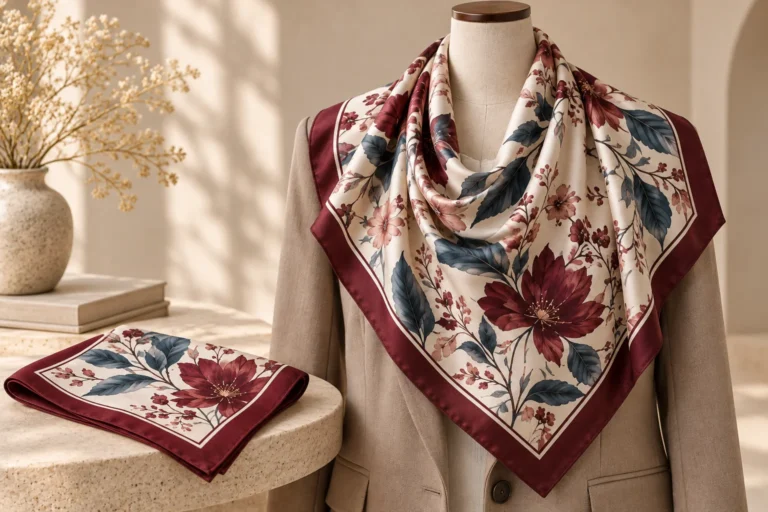
On a flat square scarf, the border frames the central artwork. When the scarf is folded into a triangle or rolled into a narrow band, that border may become the dominant visible feature. A subtle border can look much stronger when several layers are folded together, while a very narrow one may almost disappear after hemming. It should therefore be considered part of the structure from the beginning.
Begin with the Final Scarf Size
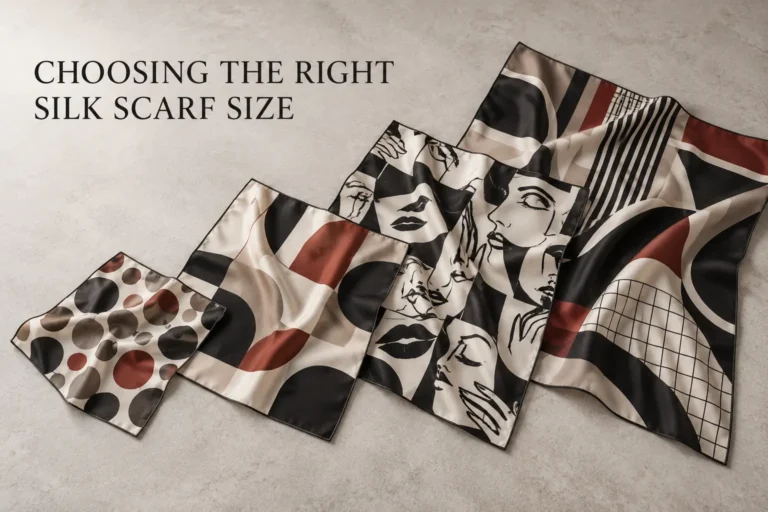
The same border width will not create the same effect on every scarf. A border that feels balanced on a 90 × 90 cm statement scarf may take up too much space on a compact 45 × 45 cm neck scarf.
Before starting the layout, confirm the intended scarf dimensions and whether they refer to the cut fabric or the finished product after hemming. The border should then be designed in proportion to the usable printed area.
Small scarves generally benefit from controlled borders that do not overpower the centre. Larger scarves allow more room for layered details or transitions toward the outer edge. There is no universal correct width—the right proportion depends on the artwork, scarf size and intended styling.
Design the Corners as Visible Focal Points
Corners deserve more attention than they often receive. A scarf tied around the neck or handbag may show only one or two corners, while the central motif remains hidden inside the fold.
Each corner should therefore feel intentional. It may contain a recognisable motif, a change in colour or a directional line connected to the wider design. The corners do not need to be identical, but none should look like an accidental crop.
Mirrored corners create a balanced result. For a more contemporary design, each corner can be different while sharing the same colour palette or visual language, giving customers several styling possibilities within one product.
Choose Between Symmetrical and Asymmetrical Borders
Symmetrical borders provide a formal, classic appearance and work well with geometric compositions or repeated motifs.
Asymmetrical borders create a more artistic result. A line may widen on one side, a colour block may cross into the border, or each edge may contain a different arrangement.
Asymmetry still needs structure. Designers should test several fold directions to confirm that the visible sections look deliberate rather than misaligned.
Connect the Centre, Border and Corners
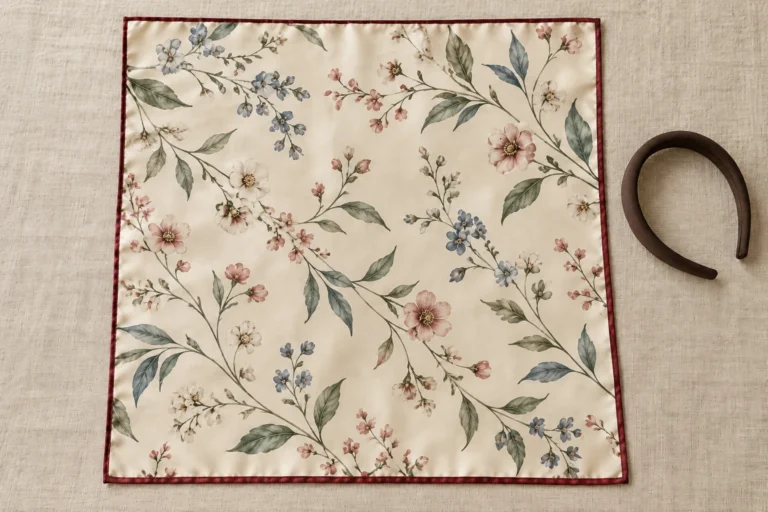
The border should support the central artwork rather than appear like a separate frame placed around it. Repeating a colour, line weight, texture or motif from the centre can create a smoother visual connection.
Some designs use a clear enclosed border, while others allow shapes or lines to cross toward the edge. Both approaches can work, but the transition should remain readable after folding.
Strong contrast makes the scarf more graphic, while a softer transition creates a more fluid appearance. The choice should match the collection and intended styling.
Leave Enough Space for Hemming
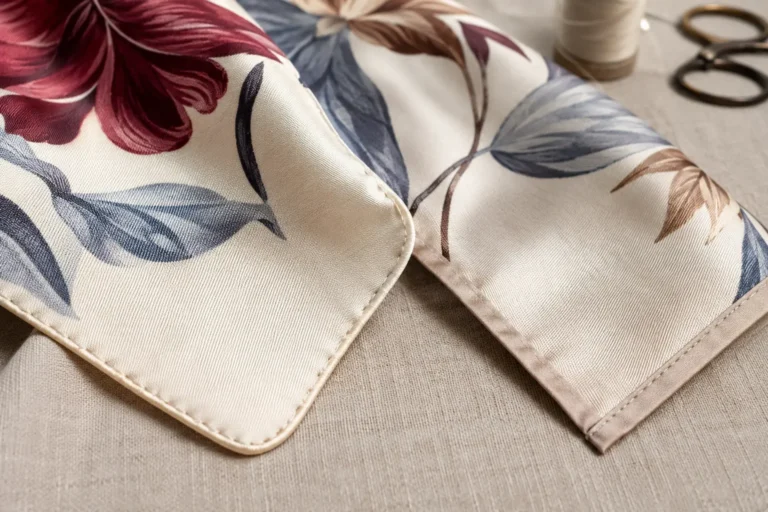
Part of the printed edge may be rolled or stitched during finishing. Important details placed too close to it may become hidden or appear uneven.
The required allowance varies with the silk, scarf dimensions and finishing method. Hand-rolled and machine-stitched hems do not create the same edge profile, so ask the manufacturer for the correct template or safe-area guidance.
Very narrow borders and precise parallel lines require particular care because small cutting or hemming tolerances become easier to notice. A little flexibility in the artwork can make the finished edge look more balanced.
Position Logos, Signatures and Text Carefully
A signature or logo can add identity, but it should not sit directly against the cut edge. Leave enough space for it to remain visible after hemming.
Consider how the mark appears when the scarf is tied. A corner logo may be clearly visible in one styling method and hidden in another, so test more than one position when brand visibility is important.
Typography should remain legible at the actual print size. Thin letters and very small text may lose clarity on textured or lightweight silk. Always check the artwork at its intended physical dimensions rather than judging it only while enlarged on screen.
Do Not Simply Scale One Layout to Every Size
Using the same artwork for several sizes may appear efficient, but proportional scaling can change the balance. A large-scarf border may dominate a smaller version, while fine corner details can become difficult to recognise.
Review the border width, motif scale, line thickness, logo and safe area separately. A size-specific version usually looks more polished than automatically enlarging or reducing the complete file.
This is especially important when a collection includes both square scarves and narrow formats such as twillies. A square composition normally needs to be reorganised rather than cropped into a long strip.
Test the Design by Folding It
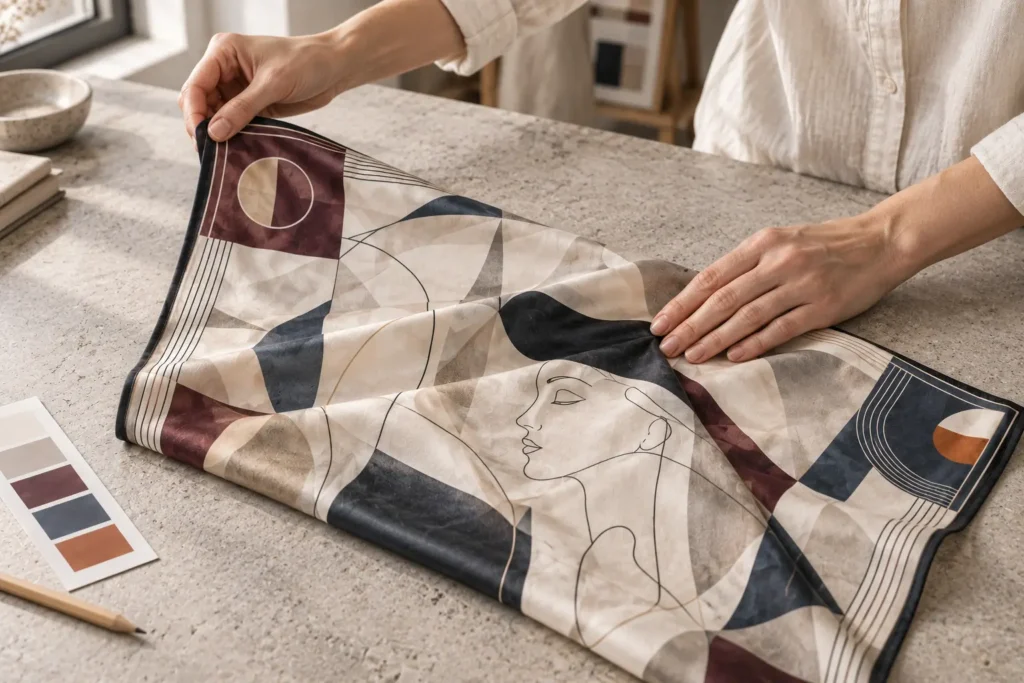
A flat artwork preview cannot show the complete wearing experience. Before sampling, create digital fold tests or print the layout on paper at an approximate physical size.
Check how the design looks when folded diagonally, rolled into a narrow band and tied with different corners facing outward. Look for awkward colour combinations, empty sections or important motifs that disappear inside the fold.
The test may show that one corner needs more contrast or the border should be narrower. These changes are easier before sampling.
Confirm the Result with a Physical Sample
Even a carefully prepared file should be confirmed on the intended silk. Fabric type, momme weight, lustre and drape can change how the border and colours appear.
Inspect the sample both flat and worn. Check whether the border remains visually even, whether the corners are positioned correctly and whether the hem affects any important artwork. If revisions are required, update the file name and version number before approving production.
A well-designed border does more than frame the image. It connects the artwork to the way the scarf moves, folds and becomes part of an outfit. By planning the border, corners and finishing area together, designers can create a scarf that looks complete on the table and equally considered when worn.
If you are developing a custom silk scarf, send us your artwork, intended dimensions, preferred fabric and estimated quantity. The China Silk Scarf team can help you review suitable printing, sampling and finishing options before production.