How to Prepare Artwork Files for Custom Silk Scarf Printing
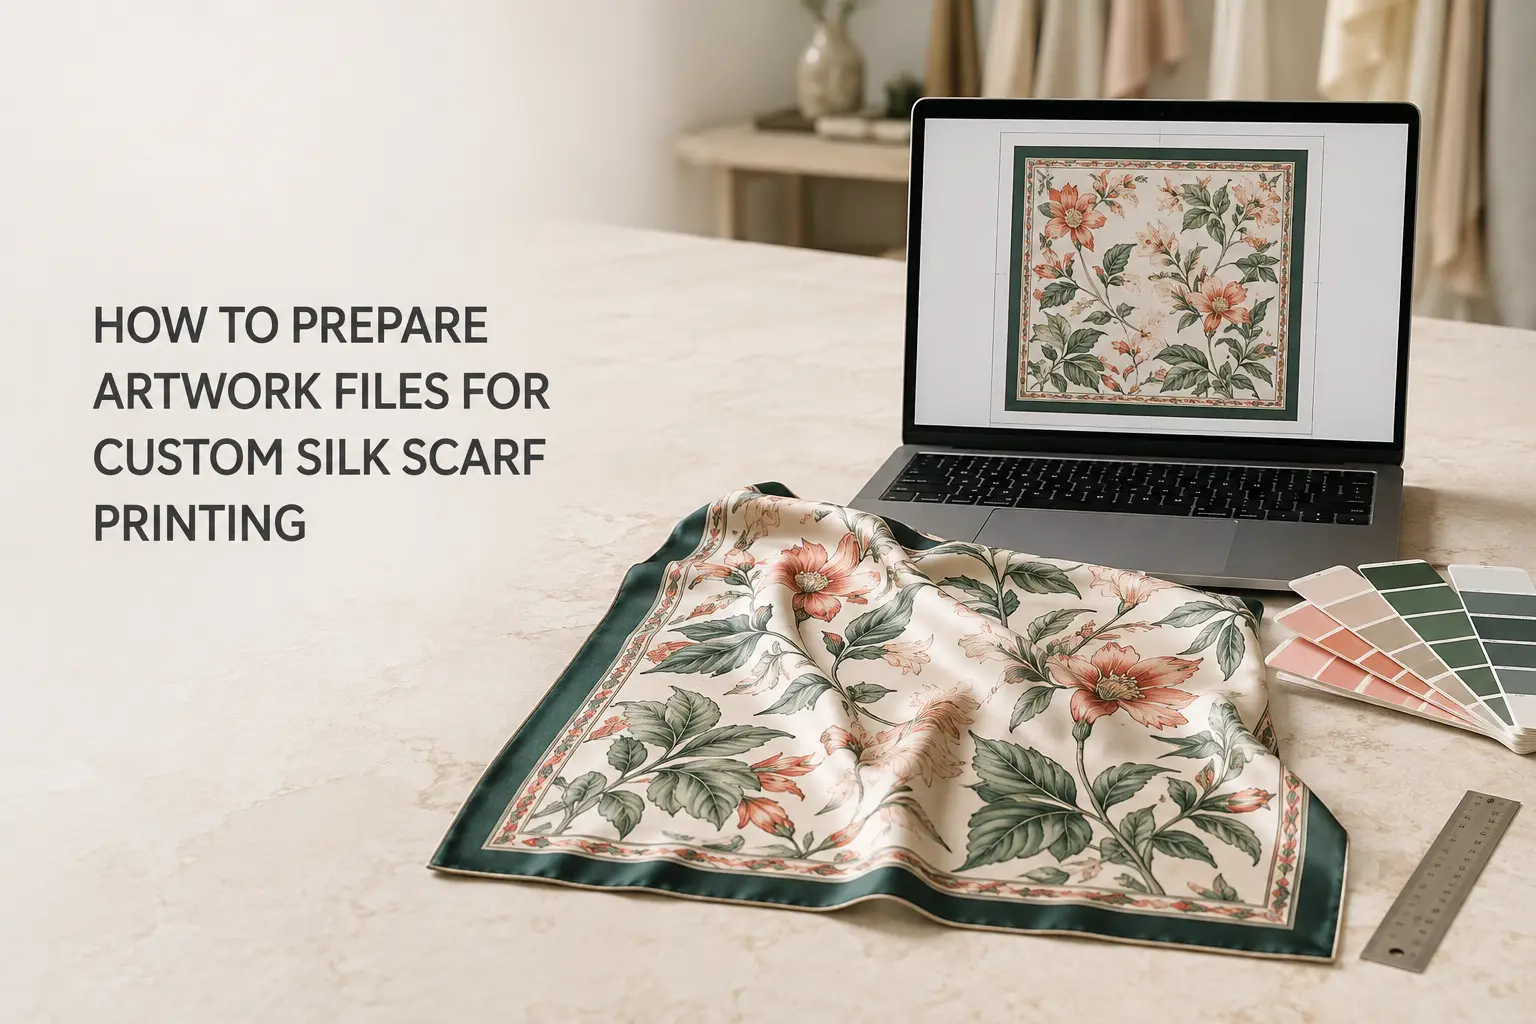
Creating artwork for a silk scarf is different from preparing an image for a website or paper print. The design must work at the finished scarf size, reproduce well on fabric and leave enough space for cutting and hemming. A beautiful image can still produce disappointing results if the file is too small, important details sit too close to the edge or the colours have only been judged on a screen.
Start with the Finished Scarf Size
Before adjusting resolution or colour, confirm the final dimensions of the scarf. A 45 × 45 cm neck scarf and a 90 × 90 cm statement scarf require different artwork proportions, border widths and levels of detail.
For a placement design, the artwork should normally be created at the final print dimensions or at a clearly stated scale. Enlarging a low-resolution image does not restore missing detail. If the design has a border, check that all four sides are balanced and confirm whether the dimensions refer to the cut or finished size.
Choose the Right File Type for the Artwork
Vector files such as AI, SVG or vector PDF are useful for logos, typography, geometric patterns and clean line drawings. They can be enlarged without losing sharpness and make it easier to adjust individual colours. Fonts should be outlined or supplied separately so that missing typefaces do not change the design when the file is opened.
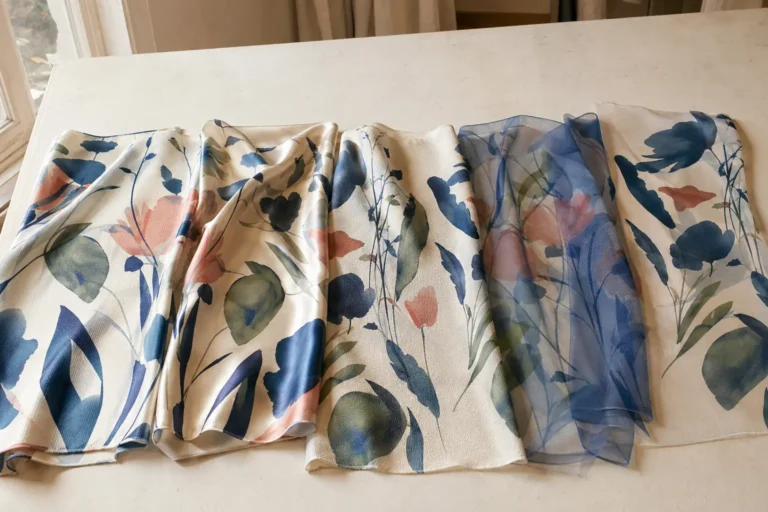
Raster files are more suitable for watercolours, paintings, photographs and artwork containing soft texture. High-resolution TIFF, PSD or other lossless files usually preserve more information than a heavily compressed image. A high-quality print-ready PDF may also be suitable when it has been exported correctly.
Do not convert a detailed painting into vector artwork simply because vector files sound more professional. The conversion may remove the brush texture and tonal variation that give the design its character. It is better to provide a properly scanned, high-resolution raster file at the intended print size.
Check Resolution at Actual Print Size
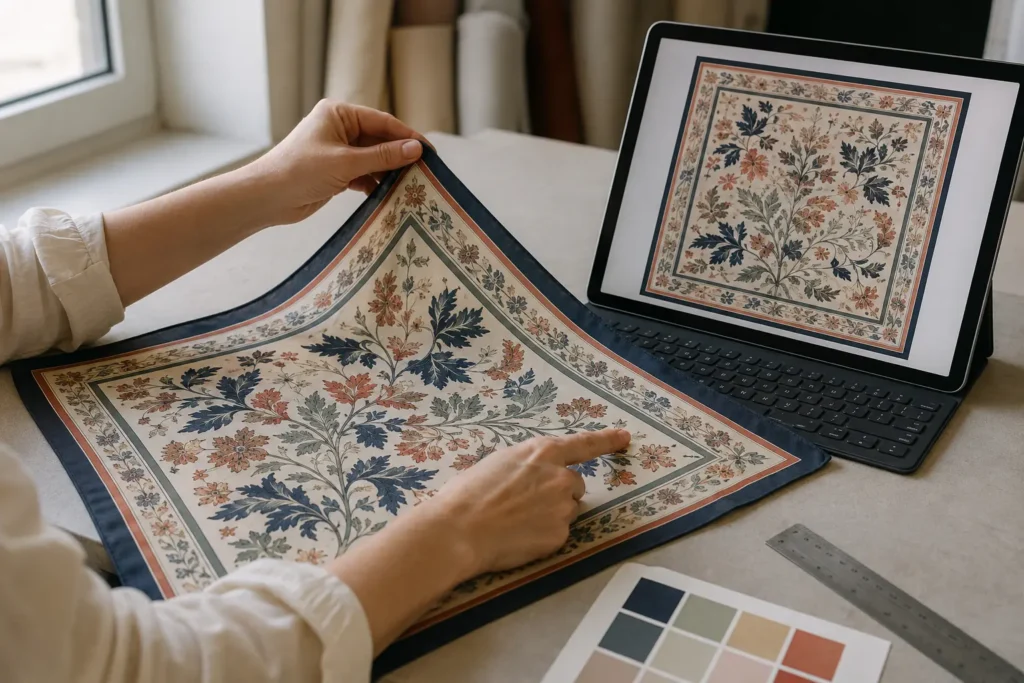
An image may look large on a computer screen but still contain too few pixels for a full-size scarf. As a practical starting point, many textile artworks are prepared at approximately 150–300 pixels per inch at the final print size. Fine lines, small lettering or detailed illustrations may benefit from the higher end of that range.
The exact requirement should be confirmed with the supplier because equipment, fabric and artwork type can affect what is suitable. Simply changing the resolution number without adding genuine image detail will not improve the print.
Distinguish Placement Designs from Repeat Patterns
A placement design is composed for a particular scarf size, with borders, central motifs and corner details positioned within one complete square or rectangle. A repeat pattern is built from a tile that joins continuously in every direction and is more suitable for all-over prints.
If a repeat is required, inspect every join carefully at a large scale. Unwanted lines, gaps or duplicated elements can become much more obvious when the pattern is printed across a larger area. If the scarf uses a placement design, label the top, bottom or intended orientation when this is relevant.
Prepare Colour with the Printing Process in Mind
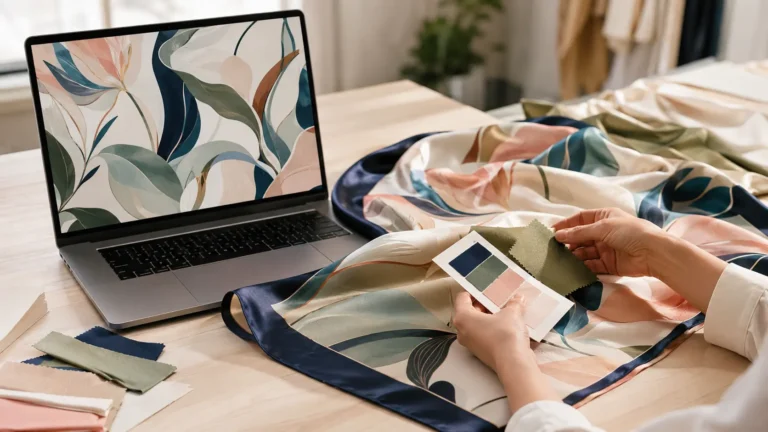
Colours seen on a monitor will not look exactly the same on silk. Screens produce light, while printed fabric reflects light. Silk type, momme weight, surface lustre, ink penetration and finishing can all influence the result.
Do not automatically convert every file to CMYK or assume that RGB is always correct. Digital textile workflows vary. Ask the supplier which colour mode and profile they prefer, and keep an editable master file before making any conversion.
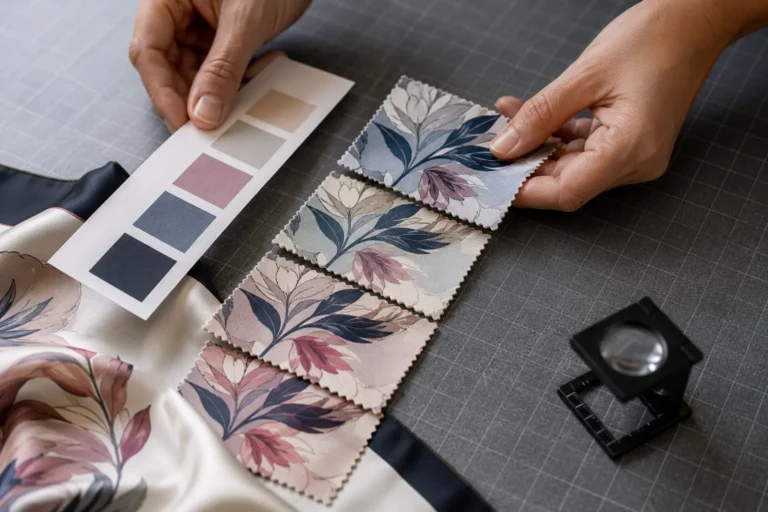
If a specific colour is important, provide a recognised reference when possible and identify the critical areas. The most reliable evaluation is still a physical sample printed on the intended silk.
Leave Space for Cutting and Hemming
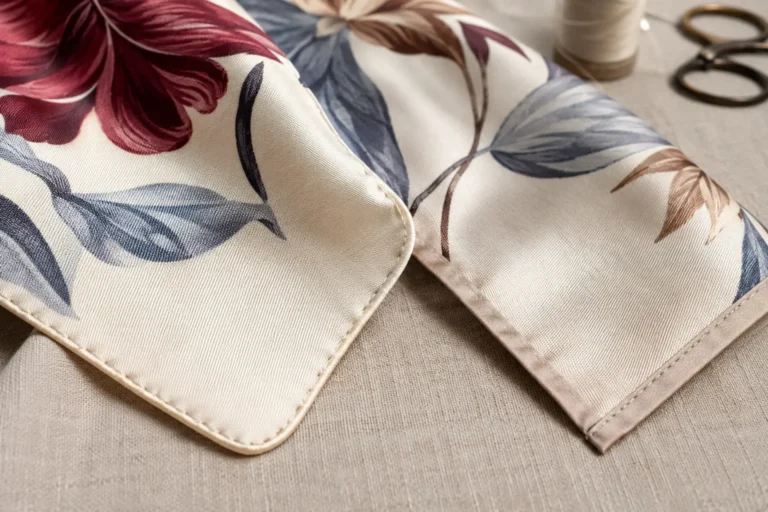
The printed image does not remain completely unchanged after the scarf is cut and finished. A portion near the edge may be folded, rolled or stitched during hemming.
Keep logos, signatures, small text, faces and other important details away from the edge. The required safety area depends on the scarf size and whether the finish is hand-rolled or machine-stitched. Ask the manufacturer for the appropriate template or allowance instead of relying on one universal measurement.
Borders require particular attention. Very narrow borders can reveal small variations in cutting or hemming, while an uneven border may become more noticeable after the edge is finished. Allowing practical tolerance at the artwork stage usually produces a more balanced final product.
Organise Layers, Fonts and File Names
Keep one editable master file with the original layers whenever possible. Before submission, remove hidden experiments and unused elements that could cause confusion. Clearly name important layers, outline or package fonts, and check that linked images are embedded or included.
Provide both the editable source and a print-ready reference showing exactly how the completed design should look.
Use clear file names that include the design name, size, colourway and revision number. For example:
Botanical-Garden_65x65cm_Blue_V03.pdf
This is especially important when a collection contains similar colourways. Avoid names such as “final”, “final-new” and “latest-final”, which make production records difficult to follow.
Review Small Details Before Submission
Zoom in and inspect fine lines, text, edges and areas where colours meet. Check that transparent objects display correctly and no guide lines remain in the printable area. Then review the design at its approximate finished size, as fine typography and delicate lines may be less clear on textured fabric than they appear when enlarged on screen.
For a collection, prepare a simple specification sheet listing each file name, size, silk, quantity, hemming method and colour priorities.
Always Confirm with a Physical Sample
A well-prepared file cannot replace sampling. A physical sample reveals how the artwork interacts with the selected silk, including colour, detail, lustre, drape and reverse-side appearance. Review it under normal lighting and check the border, small details and finished edge.
If changes are required, update the revision number and keep the approved specifications together. Bulk production should follow the confirmed artwork, fabric and finishing details rather than an earlier file version.
A Practical Artwork Checklist
Before requesting a sample or quotation, confirm that you have prepared:
- The final scarf dimensions and design orientation
- A vector file or high-resolution raster file suitable for the artwork style
- Sufficient resolution at the actual print size
- Clearly identified colourways and critical colour references
- A safe area for cutting and hemming
- Outlined or supplied fonts and complete linked images
- Clear file names and revision numbers
- A reference image showing the intended final layout
- Fabric, quantity, hemming and delivery requirements
Careful artwork preparation makes communication faster and reduces avoidable uncertainty during sampling. More importantly, it helps preserve the original character of the design as it moves from the screen or sketchbook onto silk.
If you are preparing artwork for a custom silk scarf collection, send us your design, intended dimensions, preferred silk and estimated quantity. The China Silk Scarf team can review the basic production requirements and discuss suitable printing, sampling and finishing options.